Setup Stringer on Heroku
This is a brief note on how to setup Stringer, a self-hosted anti-social RSS reader on Heroku. Some of the following steps have already been covered by Project's README file.
- Prerequisites
- Clone repository
- Install Heroku
- Configure Stringer
- Add custom domain
- Add add-ons
- Update stringer
- Clone existing stringer app
- Troubleshooting
Prerequisites
Stringer doesn't have any external dependencies, but to download and setup it up on Heroku, two things are needed.
Clone repository
If it is been forked, clone your own Stringer repository. Otherwise clone the original repository like this:
git clone https://github.com/swanson/stringer.git
Install Heroku
- Visit Heroku Toolbelt page for different options depending on operating system.
-
Choose a way to download and install Heroku.
-
For example, on Linux Mint, run the following command in terminal to execute the installation shell script:
wget -qO- https://toolbelt.heroku.com/install-ubuntu.sh | sh -
For those with security concerns, detailed commands can be found in the script here and executed manually.
-
Configure Stringer
-
Login into Heroku
heroku login -
Create Heroku app
cd stringer heroku create -
Push to Heroku
git push heroku master -
Configure
heroku config:set LOCALE=en heroku config:set APP_URL=`heroku apps:info | grep -o 'http[^"]*'` heroku config:set SECRET_TOKEN=`openssl rand -hex 20` -
Restart
heroku run rake db:migrate
heroku restart
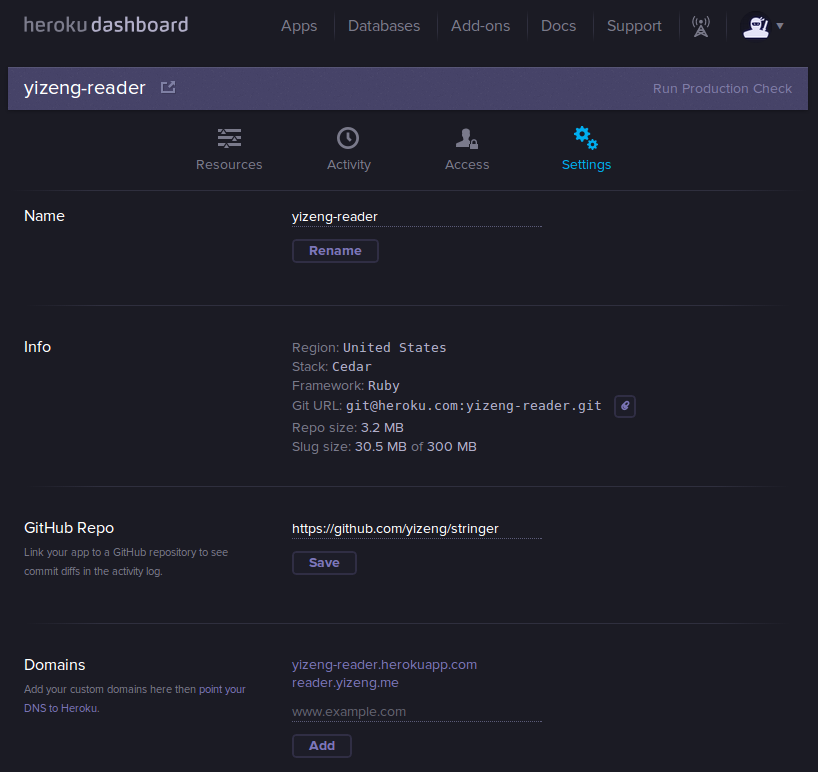
Add custom domain
-
Detailed official documentation on how to add custom domain to this Heroku Stringer app is here.
heroku domains:add reader.yizeng.me -
Visit domain registrar's "DNS Records" page and create a CNAME record pointing to Heroku app.
For example, record type isCNAME, host isreader.yizeng.me, answer isyizeng-reader.herokuapp.comand keep the default TTL, which is300.
Add add-ons
-
Add Scheduler add-ons
To fetch RSS feeds automatically, Heroku Scheduler needs to be added to app.
 heroku addons:add scheduler
 heroku addons:open scheduler
Then add a task called
rake fetch_feedsand set a frequency to it in Scheduler Dashboard.
-
Add optional add-ons
Some optional add-ons can also be added if interested. For example, PG Backups is for backing up PostgreSQL database, Papertrail is for logging server status. Both of them have free plans available.
heroku addons:add pgbackups:auto-week heroku addons:add papertrail:choklad -
More settings and add-ons can be accessed from web user interface

Update stringer
git pull
git push heroku master
heroku run rake db:migrate
heroku restart
Clone existing stringer app
In order to clone the source of an existing application from Heroku using Git, use the heroku git:clone command with the app name, mine is called yizeng-reader in this case.
heroku git:clone -a yizeng-reader
Troubleshooting
Error while executing git push heroku master:
Permission denied (publickey).
fatal: The remote end hung up unexpectedly
Solution from StackOverflow:
-
Upload the public ssh key to Heroku:
heroku keys:add ~/.ssh/id_rsa.pub -
If no keys exist, create a new one:
heroku keys:add